بزرگ و کوچک کردن تصویر با استفاده از انیمیشن در اندروید
یکشنبه 20 دی 1394در این مقاله قصد داریم یک تصویر را با استفاده از رویداد دکمه بزرگ یا کوچک نماییم، این بزرگ نمایی و کوچک کردن تصاویر با استفاده از یک انیمیشن انجام پذیر خواهد بود.

در این مقاله ابتدا یک پوشه ی anim در پوشه ی res ایجاد نمایید داخل این پوشه از یک فایل xml استفاده نمایید، این فایل xml یک تصویر را با انیمیشن بزرگ یا کوچک می کند.
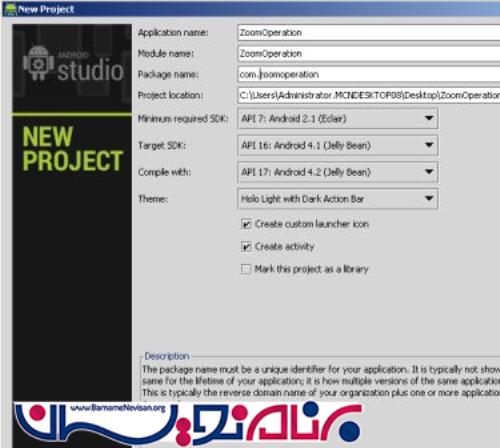
یک پروژه ی جدید ایجاد نمایید:
داخل activity از یک imageview و دو دکمه استفاده می نماییم به صورت زیر:
<RelativeLayout xmlns:android="http://schemas.android.com/apk/res/android"
                xmlns:tools="http://schemas.android.com/tools"
                android:layout_width="match_parent"
                android:layout_height="match_parent"
                tools:context=".MainActivity"
                android:background="#E0A51B">
    <LinearLayout
            android:layout_height="wrap_content"
            android:layout_width="fill_parent"
            android:orientation="vertical">
        <ImageView
                android:id="@+id/imageVIEW"
                android:layout_width="325dp"
                android:layout_height="126dp"
                android:layout_centerHorizontal="true"
                android:background="@drawable/pic8"
                android:layout_gravity="center_horizontal" android:layout_margin="20dp">
        </ImageView>
        <Button
                android:id="@+id/btnZoom_In"
                android:layout_height="wrap_content"
                android:layout_width="150dp"
                android:text="StartZoomIn"
                android:layout_centerHorizontal="true"
                android:layout_marginLeft="70dp"
                android:layout_marginTop="40dp"
                />
        <Button
                android:id="@+id/btn_Zoom_out"
                android:layout_height="wrap_content"
                android:layout_width="150dp"
                android:text="StartZoomOut"
                android:layout_centerHorizontal="true"
                android:layout_marginLeft="70dp"
                android:layout_marginTop="40dp"
                />
    </LinearLayout>
</RelativeLayout>
داخل قطعه کد Zoom_In قطعه کد زیر را بنویسید:
<set xmlns:android="http://schemas.android.com/apk/res/android"
     android:fillAfter="true" >
    <scale
            xmlns:android="http://schemas.android.com/apk/res/android"
            android:duration="2000"
            android:fromXScale="1"
            android:fromYScale="1"
            android:pivotX="50%"
            android:pivotY="50%"
            android:toXScale="3"
            android:toYScale="3" >
    </scale>
</set>
برای کوچک شدن تصویر هم از قطعه کد زیر استفاده نمایید:
<set xmlns:android="http://schemas.android.com/apk/res/android"
     android:fillAfter="true" >
    <scale
            xmlns:android="http://schemas.android.com/apk/res/android"
            android:duration="1000"
            android:fromXScale="1.0"
            android:fromYScale="1.0"
            android:pivotX="50%"
            android:pivotY="50%"
            android:toXScale="0.5"
            android:toYScale="0.5" >
    </scale>
</set>
داخل کلاس جاوای خود ابتدا یک imageview تعریف نمایید و یک شناسه به آن نسبت دهید، حالا با استفاده از loadanimation دو xml موجود را بر می گرداند، و بعد از آن متد setAnimationListener را فراخوانی می نماییم که خود این متد شامل متد هایی است حالا زمانی که دکمه را تعریف کردیم برای دکمه ها رویداد می نویسیم و این متد ها را داخل دکمه ها صدا خواهیم زد.
package com.barnamenevisan.zoomin;
import android.app.Activity;
import android.os.Bundle;
import android.view.View;
import android.view.animation.Animation;
import android.view.animation.AnimationUtils;
import android.widget.Button;
import android.widget.ImageView;
public class MainActivity extends Activity implements Animation.AnimationListener {
    ImageView imageview;
    Button button1,button2;
    Animation animation,animation2;
    @Override
    protected void onCreate(Bundle savedInstanceState) {
        super.onCreate(savedInstanceState);
        setContentView(R.layout.main);
        imageview=(ImageView)findViewById(R.id.imageVIEW);
        button1=(Button)findViewById(R.id.btnZoom_In);
        button2=(Button)findViewById(R.id.btn_Zoom_out);
        animation= AnimationUtils.loadAnimation(getApplicationContext(),R.anim.zoom_in);
        animation2= AnimationUtils.loadAnimation(getApplicationContext(),R.anim.zoom_out);
        animation.setAnimationListener(this);
        button1.setOnClickListener(new View.OnClickListener() {
            @Override
            public void onClick(View view) {
                imageview.startAnimation(animation);
            }
        });
        button2.setOnClickListener(new View.OnClickListener() {
            @Override
            public void onClick(View view) {
                imageview.startAnimation(animation2);
            }
        });
    }
    @Override
    public void onAnimationStart(Animation animation) {
    }
    @Override
    public void onAnimationEnd(Animation animation) {
    }
    @Override
    public void onAnimationRepeat(Animation animation) {
    }
}
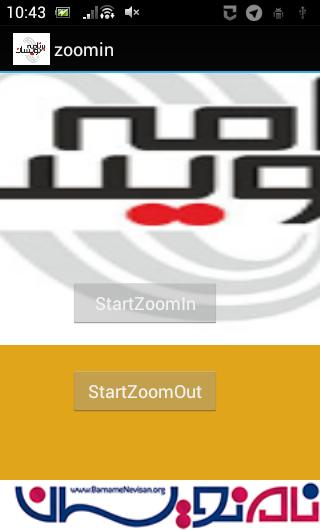
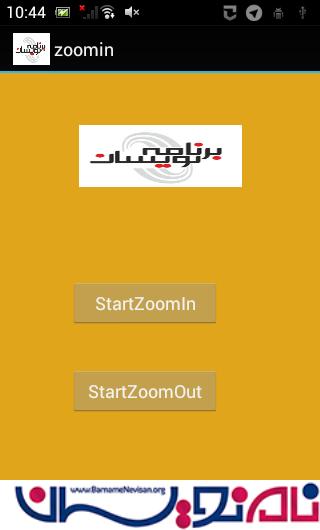
خروجی کار به صورت زیر خواهد بود:

- Android
- 2k بازدید
- 1 تشکر