استفاده از WCF برای اهراز هویت امن در Asp.Net
پنجشنبه 11 تیر 1394این مقاله نحوه ایجاد ASP.Net Web Application برای ورود به سیستم با استفاده از WCF را ارائه می دهد .
برای ایجاد ASP.Net Web Application با استفاده از WCF زمانی که یک کاربر معتبر قصد ورود به سیستم (Login ) را دارد اگر مشخصات کاربری صحیح باشد سرویس کد کاربر را به برنامه باز می گرداند .
در صورت تمایل میتوانید به صورت رایگان آموزش WCF به همراه پروژه عملی را در سایت تاپ لرن مشاهده کنید .
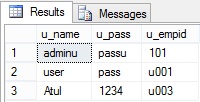
ساختار بانک اطلاعاتی
    create table tbl_emp(
    u_name nvarchar(50),
    u_pass nvarchar(50),
    u_empid nvarchar(50),)

    insert into tbl_emp values('useru','passu','101')
    insert into tbl_emp values('user','pass','u001')
    insert into tbl_emp values('Shubham','12@!','u002')
    insert into tbl_emp values('Atul','1234','u003')
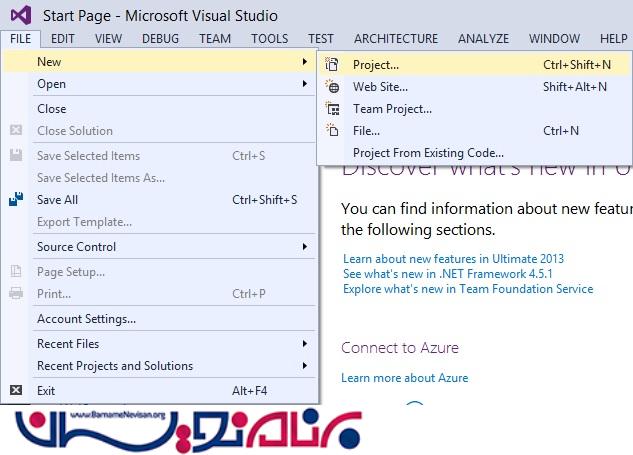
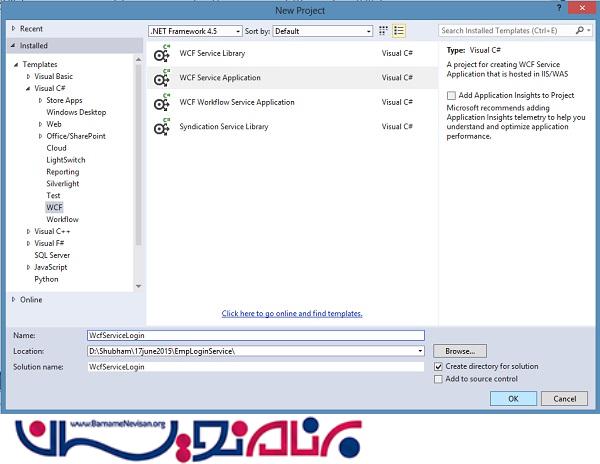
اکنون Visual Studio را برای ایجاد WCF باز کنید .
IService1.cs
    using System;
    using System.Collections.Generic;
    using System.Linq;
    using System.Runtime.Serialization;
    using System.ServiceModel;
    using System.ServiceModel.Web;
    using System.Text;

    namespace WcfServiceLogin
    {
        // NOTE: You can use the "Rename" command on the "Refactor" menu to change the interface name "IService1" in both code and config file together.
        [ServiceContract]
        public interface IService1
        {

            [OperationContract]
            List<string> LoginUserDetails(UserDetails userInfo);


            // TODO: Add your service operations here
        }


        // Use a data contract as illustrated in the sample below to add composite types to service operations.
        [DataContract]
        public class UserDetails
        {
            string username = string.Empty;
            string password = string.Empty;
            string empid;

            [DataMember]
            public string UserName
            {
                get { return username; }
                set { username = value; }
            }
            [DataMember]
            public string Password
            {
                get { return password; }
                set { password = value; }
            }
            [DataMember]
            public string RoleId
            {
                get { return empid; }
                set { empid = value; }
            }
        }
    }
Service1.svc
    using System;
    using System.Collections.Generic;
    using System.Linq;
    using System.Runtime.Serialization;
    using System.ServiceModel;
    using System.ServiceModel.Web;
    using System.Text;
    using System.Data.SqlClient;
    using System.Data;

    namespace WcfServiceLogin
    {
        // NOTE: You can use the "Rename" command on the "Refactor" menu to change the class name "Service1" in code, svc and config file together.
        // NOTE: In order to launch WCF Test Client for testing this service, please select Service1.svc or Service1.svc.cs at the Solution Explorer and start debugging.
        public class Service1 : IService1
        {
           public List<string> LoginUserDetails(UserDetails userInfo)
            {
                List<string> usr = new List<string>();
                SqlConnection con = new SqlConnection("Data Source=XXXXXXX;Initial Catalog=XXXXX;User ID=XXXX;Password=XXXXXX");
                con.Open();
                SqlCommand cmd = new SqlCommand("select * from tbl_emp where u_name=@UserName and u_pass=@Password", con);
                cmd.Parameters.AddWithValue("@UserName", userInfo.UserName);
                cmd.Parameters.AddWithValue("@Password", userInfo.Password);

                SqlDataReader dr = cmd.ExecuteReader();

                if (dr.Read() == true)
                {
                    usr.Add(dr[0].ToString());
                    usr.Add(dr[2].ToString());
                }
                con.Close();
                return usr;
            }
        }
    }
Web.config
    <?xml version="1.0"?>
    <configuration>

      <appSettings>
        <add key="aspnet:UseTaskFriendlySynchronizationContext" value="true" />
      </appSettings>
      <connectionStrings>
        <add name="log" connectionString="Data Source=XXXX; Initial Catalog=XXXX; User Id=XXXX; Password=XXXX" providerName="System.Data.SqlClient"/>
      </connectionStrings>
      <system.web>
        <compilation debug="true" targetFramework="4.5" />
        <httpRuntime targetFramework="4.5"/>
      </system.web>
      <system.serviceModel>
        <behaviors>
          <serviceBehaviors>
            <behavior>
              <!-- To avoid disclosing metadata information, set the values below to false before deployment -->
              <serviceMetadata httpGetEnabled="true" httpsGetEnabled="true"/>
              <!-- To receive exception details in faults for debugging purposes, set the value below to true.  Set to false before deployment to avoid disclosing exception information -->
              <serviceDebug includeExceptionDetailInFaults="false"/>
            </behavior>
          </serviceBehaviors>
        </behaviors>
        <protocolMapping>
            <add binding="basicHttpsBinding" scheme="https" />
        </protocolMapping>
        <serviceHostingEnvironment aspNetCompatibilityEnabled="true" multipleSiteBindingsEnabled="true" />
      </system.serviceModel>
      <system.webServer>
        <modules runAllManagedModulesForAllRequests="true"/>
        <!--
            To browse web app root directory during debugging, set the value below to true.
            Set to false before deployment to avoid disclosing web app folder information.
          -->
        <directoryBrowse enabled="true"/>
      </system.webServer>

    </configuration>
برای اجرا کلید F5 را فشار دهید .
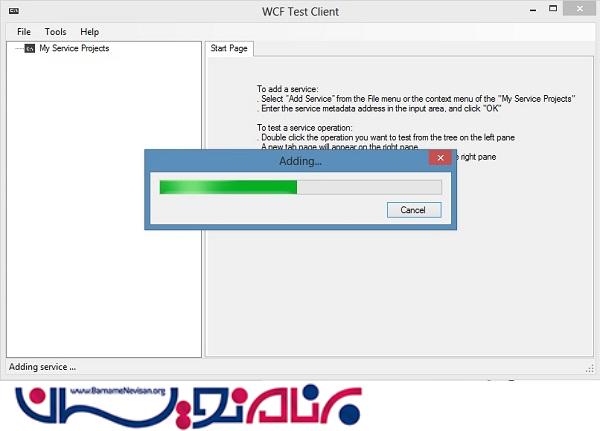
پس از اجرا صفحه زیر باز خواهد شد .
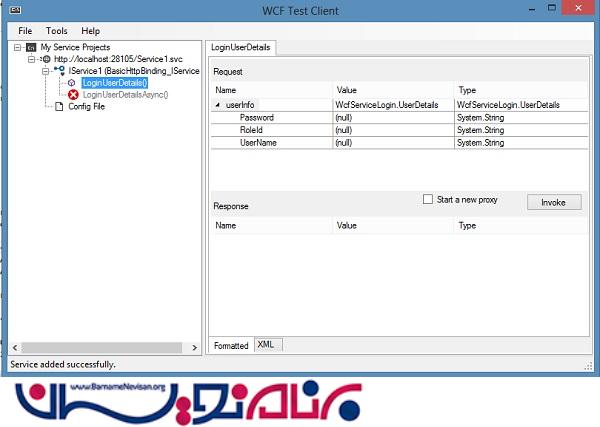
مشخصات کاربری را وارد کنید سپس روی دکمه Invoke کلیک کنید . اگر صحیح باشند emp_id با نام را برمی گرداند .

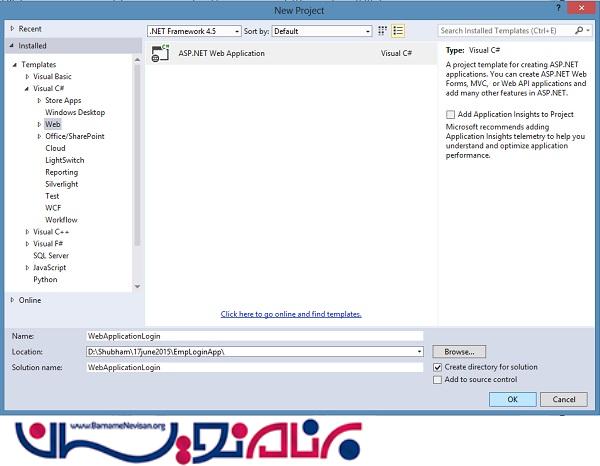
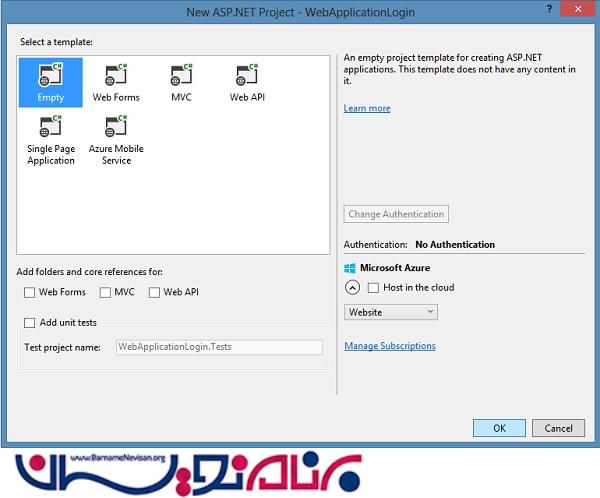
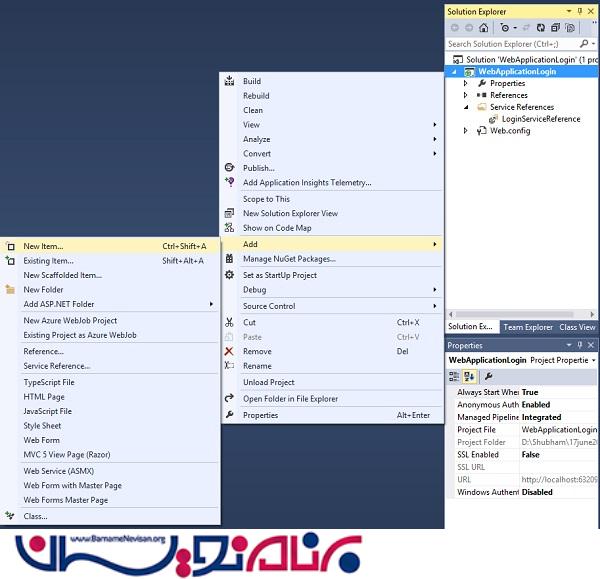
اکنون Visual Studio جدید باز کرده و یک web application جدید ایجادکنید که در آن از سرویس استفاده کنید .

Reference را اضافه کنید .
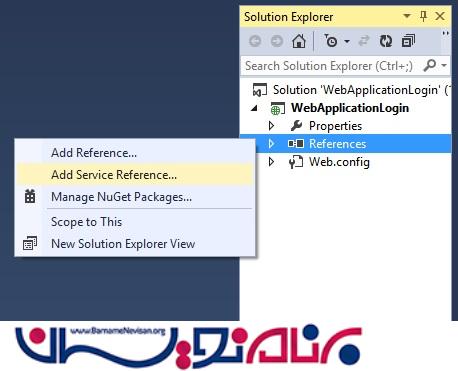
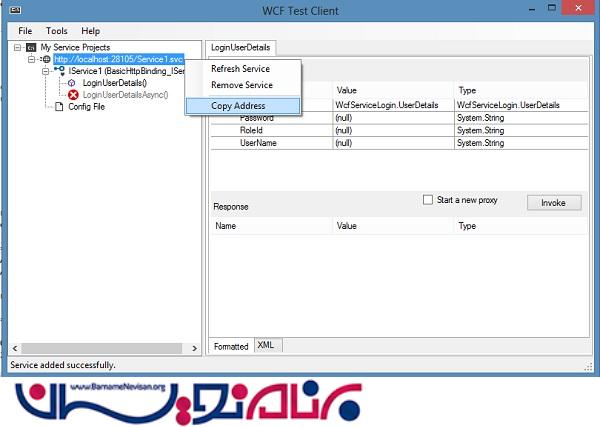
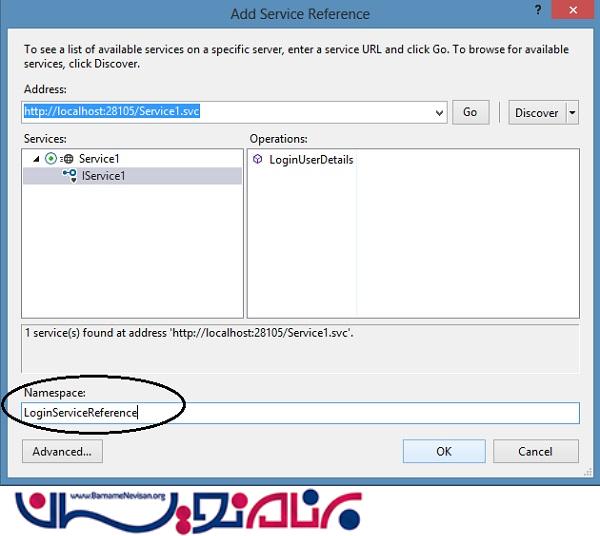
برای تعیین سرویس ، به WCF Test Client بازگردید آدرس را کپی کرده و در Add Service Reference وارد کنید .
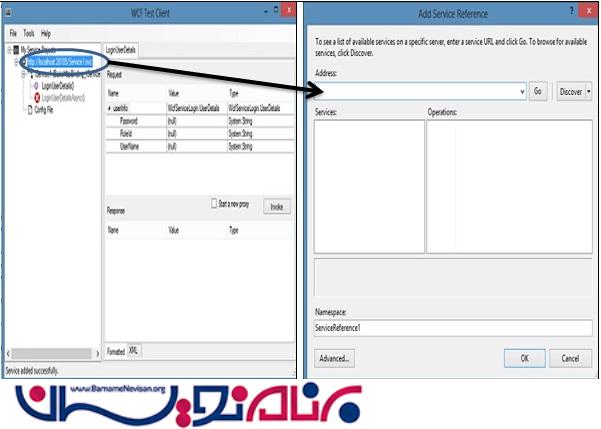
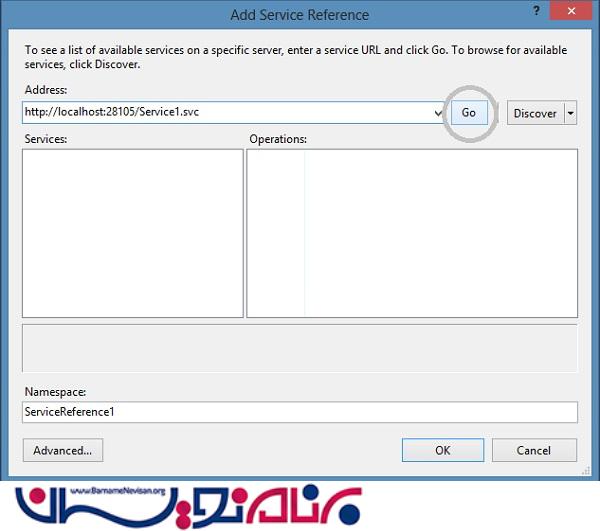
بعد از کلیک روی Go ،متوجه می شویم که یکی از سرویس ها شامل عملیاتی می باشد و می توانیم آن را به یک نام مناسب برای namespace تغییر دهیم .
Web Form اضافه کنید .
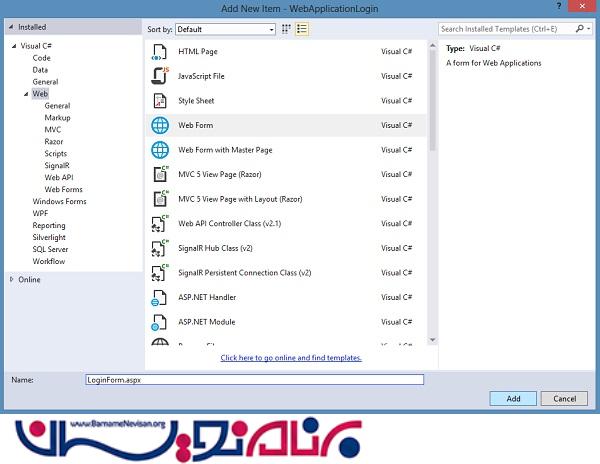
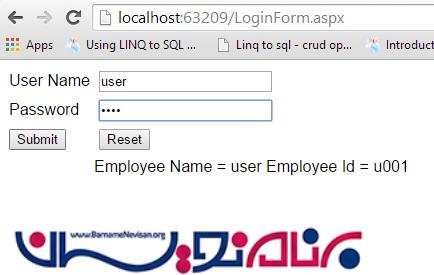
صفحه LoginForm.aspx بصورت زیر می باشد :
    <%@ Page Language="C#" AutoEventWireup="true" CodeBehind="LoginForm.aspx.cs" Inherits="WebApplicationLogin.LoginForm" %>

    <!DOCTYPE html>

    <html xmlns="http://www.w3.org/1999/xhtml">
    <head runat="server">
        <title></title>
    </head>
    <body>
        <form id="form1" runat="server">
        <table style="font-family:Arial">
            <tr>
                <td>
                    <asp:Label ID="Label1" runat="server" Text="User Name"></asp:Label></td>
                <td></td>
                <td>
                    <asp:TextBox ID="TextBox1" runat="server"></asp:TextBox></td>
            </tr>
            <tr>
                <td></td>
                <td></td>
                <td></td>
            </tr>
             <tr>
                <td>
                    <asp:Label ID="Label2" runat="server" Text="Password"></asp:Label></td>
                <td></td>
                <td>
                    <asp:TextBox ID="TextBox2" runat="server" TextMode="Password"></asp:TextBox></td>
            </tr>
            <tr>
                <td></td>
                <td></td>
                <td></td>
            </tr>
            <tr>
                <td>
                    <asp:Button ID="Button1" runat="server" Text="Submit" OnClick="Button1_Click" /></td>
                <td></td>
                <td>
                    <asp:Button ID="Button2" runat="server" Text="Reset" OnClick="Button2_Click" /></td>
            </tr>
            <tr>
                <td></td>
                <td></td>
                <td></td>
            </tr>
            <tr>
                <td></td>
                <td colspan="3">
                    <asp:Label ID="Label3" runat="server"></asp:Label></td>
                <td></td>
            </tr>
        </table>
        </form>
    </body>
    </html>
در LoginForm.aspx.cs این دستورات می بایست درج شوند :
    using System;
    using System.Collections.Generic;
    using System.Linq;
    using System.Web;
    using System.Web.UI;
    using System.Web.UI.WebControls;
    using WebApplicationLogin.LoginServiceReference;
    namespace WebApplicationLogin
    {
        public partial class LoginForm : System.Web.UI.Page
        {
            LoginServiceReference.Service1Client obj = new LoginServiceReference.Service1Client();
            protected void Page_Load(object sender, EventArgs e)
            {

            }

            protected void Button1_Click(object sender, EventArgs e)
            {
                try
                {
                    UserDetails userinfo = new UserDetails();
                    userinfo.UserName = TextBox1.Text;
                    userinfo.Password = TextBox2.Text;
                    List<string> msg = obj.LoginUserDetails(userinfo).ToList();
                    Label3.Text = "Employee Name = " + msg.ElementAt(0)+ " Employee Id = "+ msg.ElementAt(1);
                }
                catch (Exception ex)
                {
                    Label3.Text = "Wrong Id Or Password";
                }
            }

            protected void Button2_Click(object sender, EventArgs e)
            {
                TextBox1.Text = "";
                TextBox2.Text = "";
            }
        }
    }
اکنون برنامه را تست کنید قبل از اجرا مطمئن شوید که سرویس در حال اجرا می باشد .