تغییر اندازه تصویر قبل از آپلود کردن در ASP.Net
شنبه 14 شهریور 1394در این پست نشان خواهیم داد که چگونه توسط کنترل FileUpload بتوانیم یک عکس را قبل از Upload روی سرور در ASP.NET تغییر اندازه دهیم.

برای این کار ما از بعضی کتابخانه ها و متدها استفاده می کنیم.
یک پروژه ASP.NET ایجاد کرده و یک web form اضافه کنید.
کدهای زیر را در صفحه aspx اضافه کنید.
<%@ Page Language="C#" AutoEventWireup="true" CodeFile="Default.aspx.cs" Inherits="_Default" %>

<!DOCTYPE html PUBLIC "-//W3C//DTD XHTML 1.0 Transitional//EN" "http://www.w3.org/TR/xhtml1/DTD/xhtml1-transitional.dtd">
<html xmlns="http://www.w3.org/1999/xhtml">
<head runat="server">
    <title></title>
</head>
<body>
    <form id="form1" runat="server" dir="rtl">
    <div>
        <asp:FileUpload ID="FileUpload1"  runat="server" />
        <br />
        <asp:Button ID="Button1" runat="server" Text="آپلود" onclick="Button1_Click" />
        <br />
        <!-- To display the Size of image -->
        <span>قبل از تغییر اندازه: </span>
        <asp:Label ID="Label1" runat="server" Text=""></asp:Label>
        <br />
        <span>بعد از تغییر اندازه: </span>
        <asp:Label ID="Label2" runat="server" Text=""></asp:Label>
        <br />
        <!-- To display the Resize Image -->
        <asp:Image ID="Image1" runat="server" />
    </div>
    </form>
</body>
</html>
3- اکنون از کدهای زیر برای رویداد کلیک دکمه آپلود در صفحه aspx.cs استفاده کنید:
protected void Button1_Click(object sender, EventArgs e)
{
    // Check file exist or not
    if (FileUpload1.PostedFile != null)
    {
        // Check the extension of image
        string extension = Path.GetExtension(FileUpload1.FileName);
        if (extension.ToLower() == ".png" || extension.ToLower() == ".jpg")
        {
            Stream strm=FileUpload1.PostedFile.InputStream;
            using (var image = System.Drawing.Image.FromStream(strm))
            {
                // Print Original Size of file (Height or Width)
                Label1.Text = image.Size.ToString();
                int newWidth = 240; // New Width of Image in Pixel
                int newHeight = 240; // New Height of Image in Pixel
                var thumbImg = new Bitmap(newWidth, newHeight);
                var thumbGraph = Graphics.FromImage(thumbImg);
                thumbGraph.CompositingQuality = CompositingQuality.HighQuality;
                thumbGraph.SmoothingMode = SmoothingMode.HighQuality;
                thumbGraph.InterpolationMode = InterpolationMode.HighQualityBicubic;
                var imgRectangle = new Rectangle(0, 0, newWidth, newHeight);
                thumbGraph.DrawImage(image, imgRectangle);
                // Save the file
                string targetPath = Server.MapPath(@"~\Images\") + FileUpload1.FileName;
                thumbImg.Save(targetPath, image.RawFormat);
                // Print new Size of file (height or Width)
                Label2.Text = thumbImg.Size.ToString();
                //Show Image
                Image1.ImageUrl = @"~\Images\" + FileUpload1.FileName;
            }
        }
    }
}
نکته: قبل از استفاده از کدهای بالا، فضای نام های (name space) زیر را اضافه کنید:
using System.Drawing;
using System.Drawing.Drawing2D;
using System.IO;
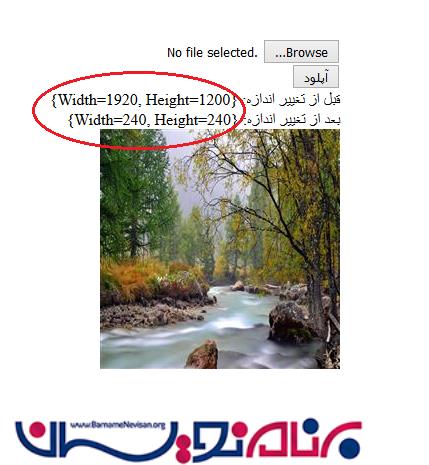
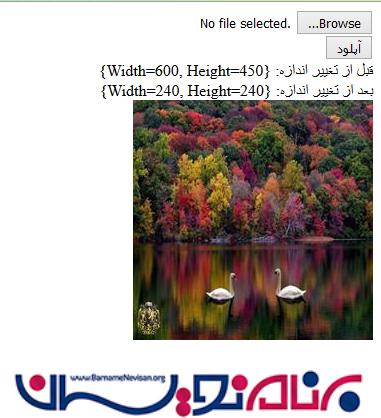
اکنون برنامه را اجرا کرده و یک عکس آپلود کنید:

- ASP.net
- 3k بازدید
- 5 تشکر
