اختصاصی کردن طول و عرض جغرافیایی در گوگل مپ
یکشنبه 15 شهریور 1394در این مقاله قصد داریم توضیحی درباره پیدا کردن طول و عرض جغرافیایی در گوگل مپ به صورت پویا (داینامیک) باتکنولوژی MVC بپردازیم

همان طور که میدانید در چند ماه قبل برای پیدان کردن آدرس مورد نظر در گوگل مپ کافی بودآدرس را وارد کرده و خود گوگل یک iframeبه ما میداد که مابا قرار دادن آن در سایت خود به راحتی میتوانستیم آدرس خود را به صورت نقشه در سایت خود قرار میدادیم ولی چند ماه است که گوگل از frame استفاده نمیکند و فقط طول وعرض جغرافیایی را به مامیدهددر این مقاله قصد داریم طول وعرض جعرافیایی را ازگوگل مپ گرفته و آن را به صورت پویا(داینامیک) از بانک اطلاعاتی خوانده ودر برنامه نشان دهیم.
برای شروه یک بانک اطلاعاتی به نام Googlemapایجاد کرده و یک جدول با دوفیلد در آن نیز میسازیم
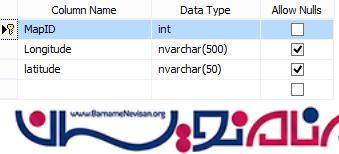
حال یک برنامه از نوع MVC ایجاد کرده و مدل خود را به برنامه اضافه میکنیم
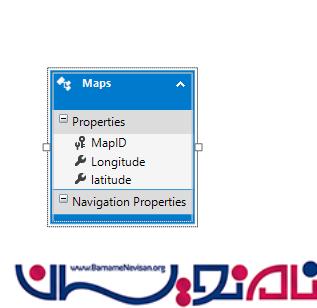
اگر با اضافه کردن بانک اطلاعاتی به مدل آشنایی ندارید اینجا را مطالعه کنید
حالیک کنترلر ،از نوعایجاد میکنیم Controller with views, using Entity Framework MVC 5
سپس در گوگل مپ رفته وآدرس مورد نظر را جستجو کرده و خود گوگل مپ مانند زیر به شما یک طول وعرض جغرافیایی آن آدرس را میدهد
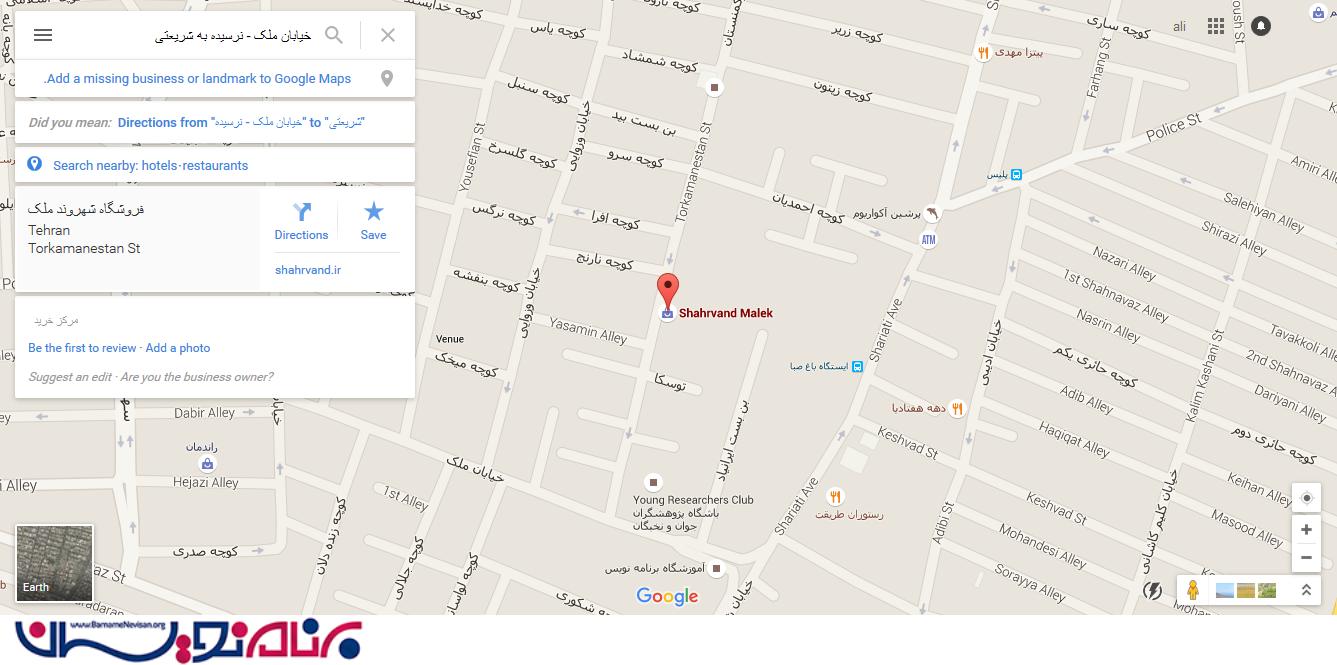
حال روی آدرس مورد نظر راست کلیک کرده و گزینه whats here را انتخاب میکنیم با زدن این گزینه طول وعرض جغرافیایی آن آدرس را خود گوگل به شما میدهد
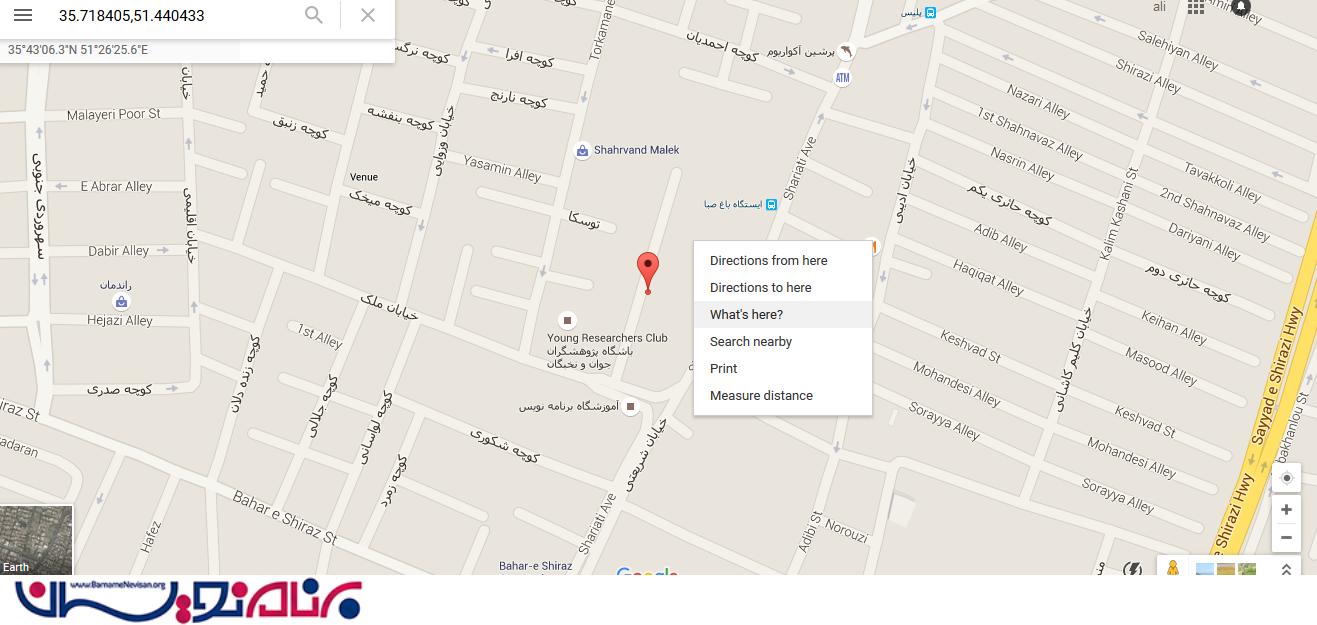
حال طول و عرضی که خود گوگل به ما میدهددر طول و عرضی که در برنامه معرفی کردیم جایگزین میکنیم
حال در کنترلر از نوع Emty ایجاد میکنیم و سپس یک متد درآن به نام Index میسازیم
  public class HomeController : Controller
    {
        private GooglemapsEntities db = new GooglemapsEntities();
        public ActionResult Index()
        {
            return View(db.Maps.First());
        }

    }
حال یک view از متد index ایجاد میکنیم
<div style="margin-top: 40px">


    <script src="~/Scripts/jquery-1.10.2.min.js"></script>
    <script src="http://maps.google.com/maps/api/js?sensor=true" type="text/javascript"></script>

    <!-- This css is to ensure that the google map contols (zoom bar etc) show and size correctly. -->
    <style>
        #map_canvas img {
            max-width: none;
        }
    </style>

    <!-- This css is to give a nice big popup "info window" when a marker is clicked on the map -->
    <style>
        .infoDiv {
            height: 200px;
            width: 300px;
            -webkit-user-select: none;
            background-color: white;
        }
    </style>

    <!-- This is the div that will contain the Google Map -->
    <div id="map_canvas" style="height: 300px;"></div>

    <!-- Enclose the Javascript in a "section" so that it is rendered in the correct order after scripts have been loaded etc -->
    @section scripts {
        <section class="scripts">

            <script type="text/javascript">

                                    @*<!-- This code tells the browser to execute the "Initialize" method only when the complete document model has been loaded. -->*@
                $(document).ready(function () {
                    Initialize();
                });

                // Where all the fun happens
                function Initialize() {
                    var x = @Model.Longitude +"";
                    var y = @Model.latitude +"";

                    // Google has tweaked their interface somewhat - this tells the api to use that new UI
                    google.maps.visualRefresh = true;
                    var Liverpool = new google.maps.LatLng(x, y);

                    // These are options that set initial zoom level, where the map is centered globally to start, and the type of map to show
                    var mapOptions = {
                        zoom: 14,
                        center: Liverpool,
                        mapTypeId: google.maps.MapTypeId.G_NORMAL_MAP
                    };

                    // This makes the div with id "map_canvas" a google map
                    var map = new google.maps.Map(document.getElementById("map_canvas"), mapOptions);

                    // This shows adding a simple pin "marker" - this happens to be the Tate Gallery in Liverpool!
                    var myLatlng = new google.maps.LatLng(x, y);

                    var marker = new google.maps.Marker({
                        position: myLatlng,
                        map: map,
                        title: 'Tate Gallery'
                    });

                    // You can make markers different colors...  google it up!


                    // a sample list of JSON encoded data of places to visit in Liverpool, UK
                    // you can either make up a JSON list server side, or call it from a controller using JSONResult
                    var data = [
                        { "Id": 1, "PlaceName": "Liverpool Museum", "OpeningHours": "9-5, M-F", "GeoLong": x + ",", "GeoLat": y },
                        { "Id": 2, "PlaceName": "Merseyside Maritime Museum ", "OpeningHours": "9-1,2-5, M-F", "GeoLong": x + ",", "GeoLat": y },
                        { "Id": 3, "PlaceName": "Walker Art Gallery", "OpeningHours": "9-7, M-F", "GeoLong": x + "35.727963,", "GeoLat": y },
                        { "Id": 4, "PlaceName": "National Conservation Centre", "OpeningHours": "10-6, M-F", "GeoLong": x + ",", "GeoLat": y }
                    ];

                    // Using the JQuery "each" selector to iterate through the JSON list and drop marker pins
                    $.each(data, function (i, item) {
                        var marker = new google.maps.Marker({
                            'position': new google.maps.LatLng(item.GeoLong, item.GeoLat),
                            'map': map,
                            'title': item.PlaceName
                        });

                        // Make the marker-pin blue!


                        // put in some information about each json object - in this case, the opening hours.
                        var infowindow = new google.maps.InfoWindow({
                            content: "<div class='infoDiv'><h2>" + item.PlaceName + "</h2>" + "<div><h4>Opening hours: " + item.OpeningHours + "</h4></div></div>"
                        });

                        // finally hook up an "OnClick" listener to the map so it pops up out info-window when the marker-pin is clicked!
                        google.maps.event.addListener(marker, 'click', function () {
                            infowindow.open(map, marker);
                        });

                    })
                }


            </script>
        </section>
    }
</div>
همان طور که در کد های view مشاهده میکنید برای استفادها از Googlemaps باید از scriptes زیر در برنامه استفاده کنیم
<script src="http://maps.google.com/maps/api/js?sensor=true" type="text/javascript"></script>
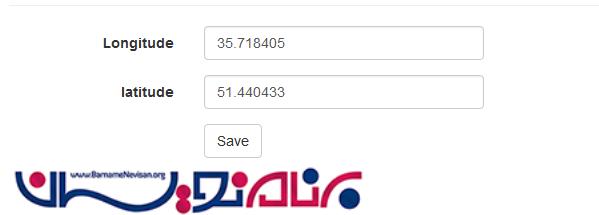
برای دانیمایک کردن گوگل مپ دو تا فیلد در نظر گرفتیم که برابر با فیلد های مورد نظر در بانک اطلاعاتی هستند (یعنی در واقع از بانک پر میشوند )
    var x = @Model.Longitude +"";
                    var y = @Model.latitude +"";
وسپس در هرجای این script نیاز به طول و عرض جغرافیایی داشت از این دو پارامتر استفاده کردم
موفق باشید

- ASP.net MVC
- 3k بازدید
- 4 تشکر