استفاده از File Upload همراه با Progress در MVC
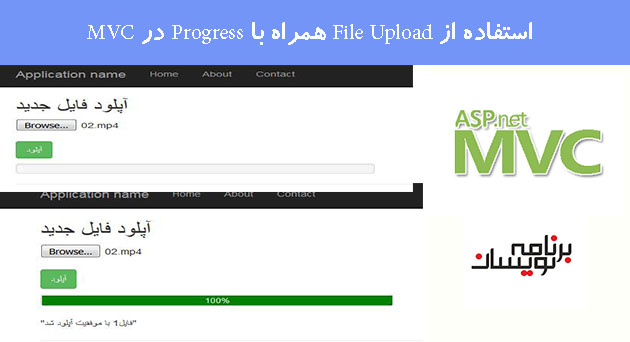
شنبه 25 شهریور 1396هدف این مقاله ارائه یک File Upload در پروژه های ASP.NET MVC است. همچنین در این مقاله نحوه ساخت و استفاده از Progress و نمایش پیغام مناسب پس از اتمام فرآیند اپلود با jQuery را خواهید دید.
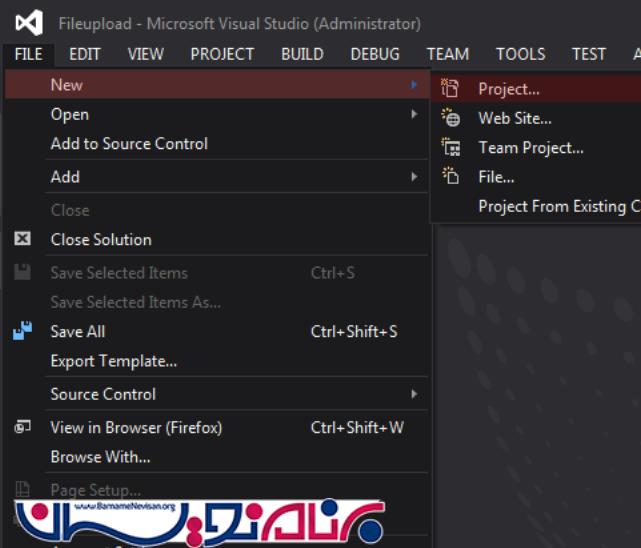
گام اول:
در Visual Studio یک پروژه جدید ایجاد نمایید.
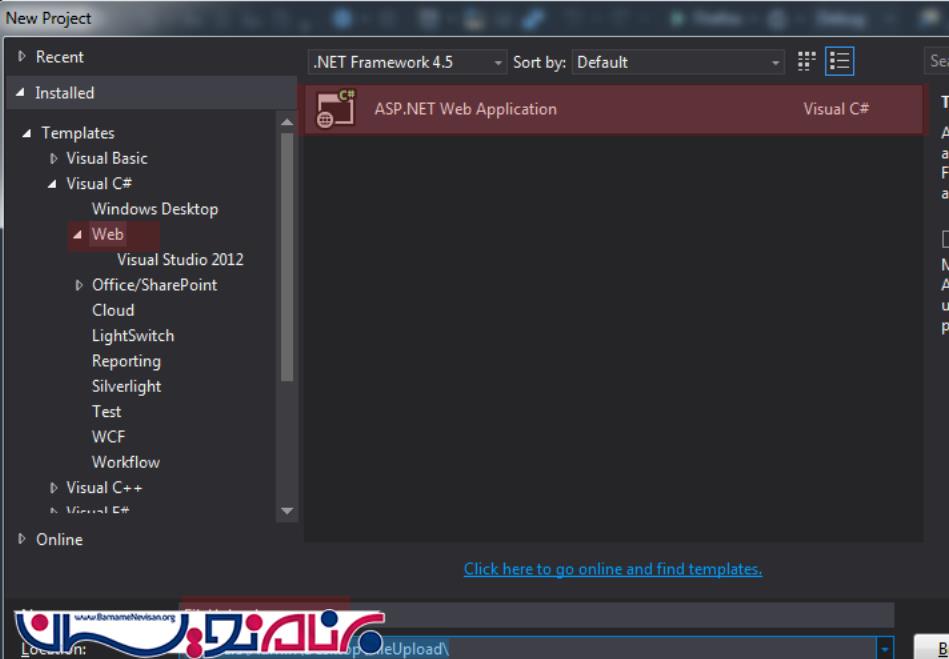
گام دوم :
ASP.NET Web Application را انتخاب و نام پروژه خود را به FileUpload تغییر دهید.
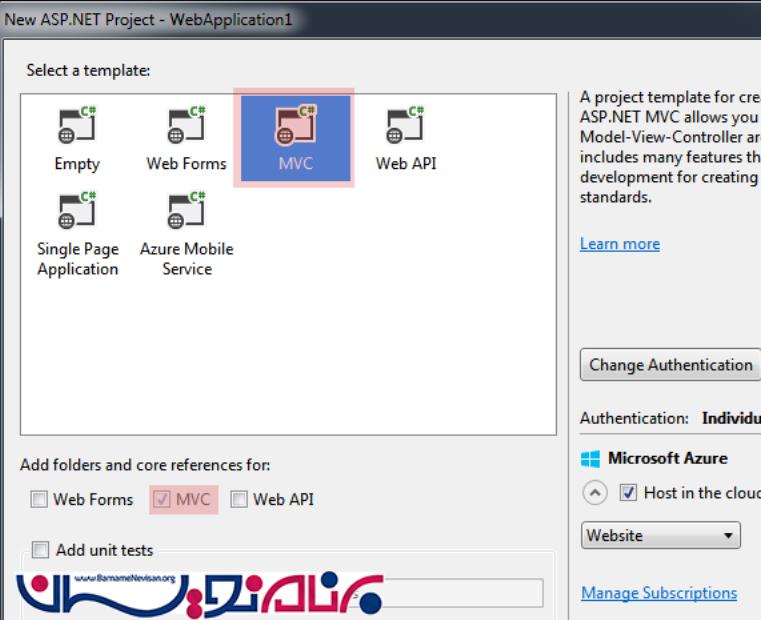
گام سوم:
از قسمت Select a template گزینه MVC را انخاب کنید.
گام چهارم:
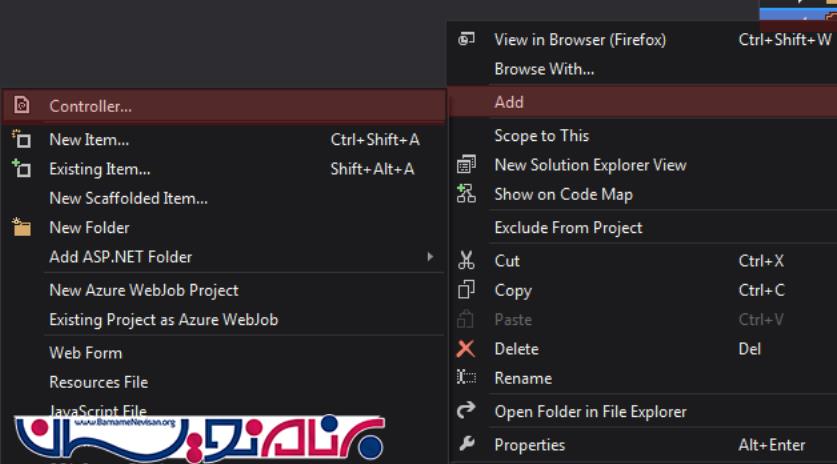
اکنون مطابق تصویر باید یک Controller جدید در فولدر Controller ایجاد نمایید.
گام پنجم:
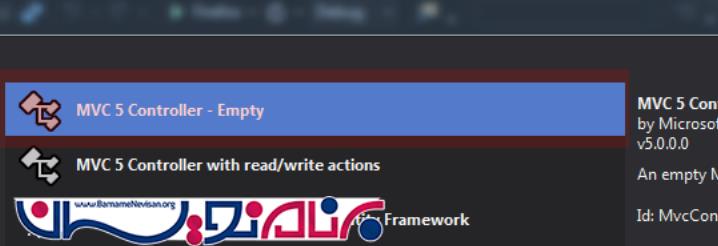
گزینه Empty MVC 5 را انتخاب نمایید و نام آن را UploadFile قرار دهید.
گام ششم:
اکنون کدAction مربوط به AsynFileUpload را به Controller اضافه نمایید.
public ActionResult AsynFileUpload()
        {
            return View();
        }
        [HttpPost]
        [ValidateAntiForgeryToken]
        public ActionResult AsynFileUpload(IEnumerable<HttpPostedFileBase> files)
        {
            int count = 1;
            if (files != null)
            {
                foreach (var file in files)
                {
                    if (file != null && file.ContentLength > 0)
                    {
                        var fileName = Guid.NewGuid() + Path.GetExtension(file.FileName);
                        var path = Path.Combine(Server.MapPath("~/UploadedFiles"), fileName);
                        file.SaveAs(path);
                        count++;
                    }
                }
            }
            return new JsonResult
            {
                Data = "فایل" + count + " با موفقیت آپلود شد"
            };
        }
گام هفتم:
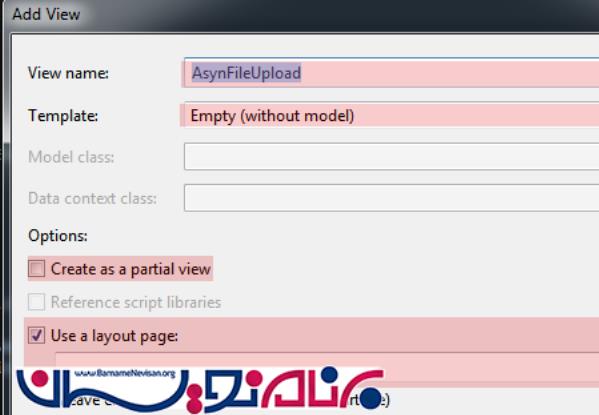
اکنون باید View مربوط به این Action را بسازیم. پس روی Actions Method مورد نظر راست کلیک کرده و یک View جدید اضافه نمایید.
گام هشتم:
کد مربوط به View شامل کدهای jQuery را اضافه کنید. این کد ها Progress و فرآیند Upload فایل را کنترل میکنند.
<h2> آپلود فایل جدید </h2>
@using (Ajax.BeginForm("AsynFileUpload", "UploadFile", new AjaxOptions() { HttpMethod = "post" }, new { enctype = "multipart/form-data" }))
{
    @Html.AntiForgeryToken()
    <div class="inputfile">
        <input type="file" name="file" id="ful" />
        <br />
        <input type="submit" class="btn btn-success" value="آپلود" />
    </div>
}
<div class="progress">
    <div class="progress-bar">
        0 %
    </div>
</div>
<div id="status">
</div>
<style>
    .inputfile {
        margin-bottom: 10px;
    }

    .progress {
        position: relative;
        width: 450px;
        border: 1px solid #ddd;
        padding: 1px;
    }

    .progress-bar {
        width: 0px;
        height: 30px;
        background-color: green;
    }
</style>
@section scripts {
    <script src="http://malsup.github.com/jquery.form.js">
    </script>
    <script>
        (function () {
            var bar = $('.progress-bar');
            var percent = $('.progress-bar');
            var status = $('#status');
            $('form').ajaxForm({
                beforeSend: function () {
                    status.empty();
                    var percentValue = '0%';
                    bar.width(percentValue);
                    percent.html(percentValue);
                },
                uploadProgress: function (event, position, total, percentComplete) {
                    var percentValue = percentComplete + '%';
                    bar.width(percentValue);
                    percent.html(percentValue);
                },
                success: function (d) {
                    var percentValue = '100%';
                    bar.width(percentValue);
                    percent.html(percentValue);
                    $('#fu1').val('');
                    alert(d);
                },
                complete: function (xhr) {
                    status.html(xhr.responseText);
                }
            });
        })(); </script>
}
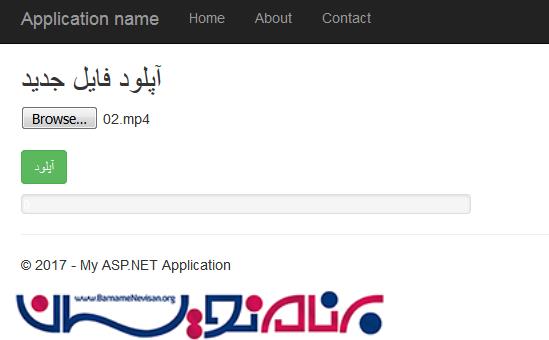
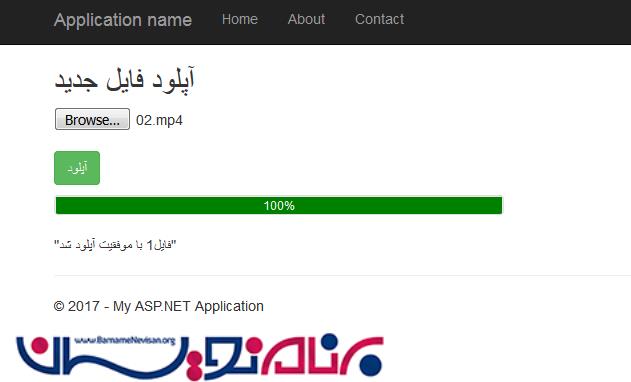
اکنون میتوانید از UploadFile خود استفاده نمایید.
- ASP.net MVC
- 3k بازدید
- 11 تشکر
